Creating consistent 3D characters can be a daunting task, especially when you need to use paid tools like Del tree and MidJourney AI. However, this tutorial will guide you through the process of creating similar results for free using Tensor Art. Follow this step-by-step guide to generate high-quality 3D characters without breaking the bank.
Introduction
Creating a consistent character is essential for various applications, from game development to animation. This tutorial will show you how to use Tensor Art, a free AI tool, to create a 3D character. We will cover everything from generating initial designs to refining your character for different expressions and actions.
Step-by-Step Guide
1. Getting Started
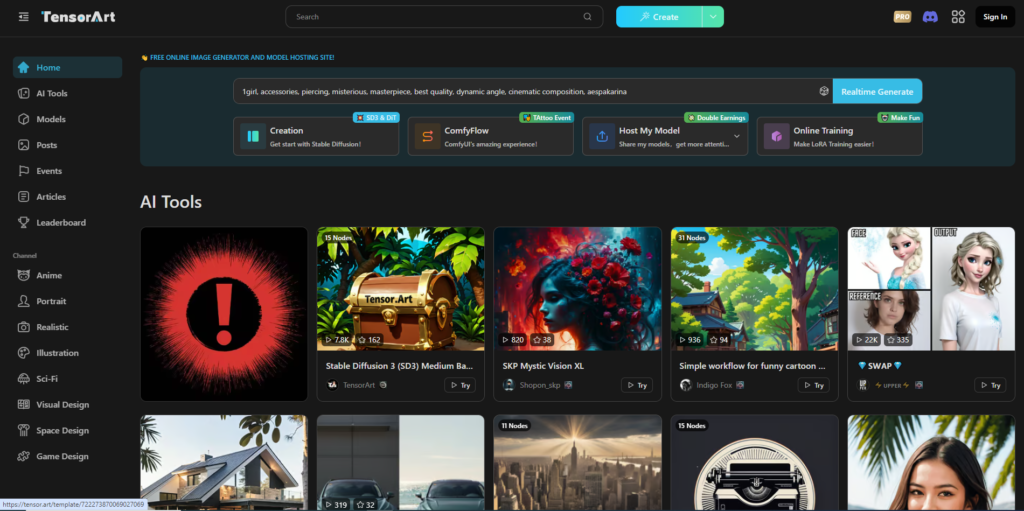
Visit Tensor Art by opening your browser and searching for Tensor Art on Google. This will take you to the Tensor Art website. Tensor Art is an AI tool that allows you to generate realistic 3D models, characters, and more.

2. Setting Up
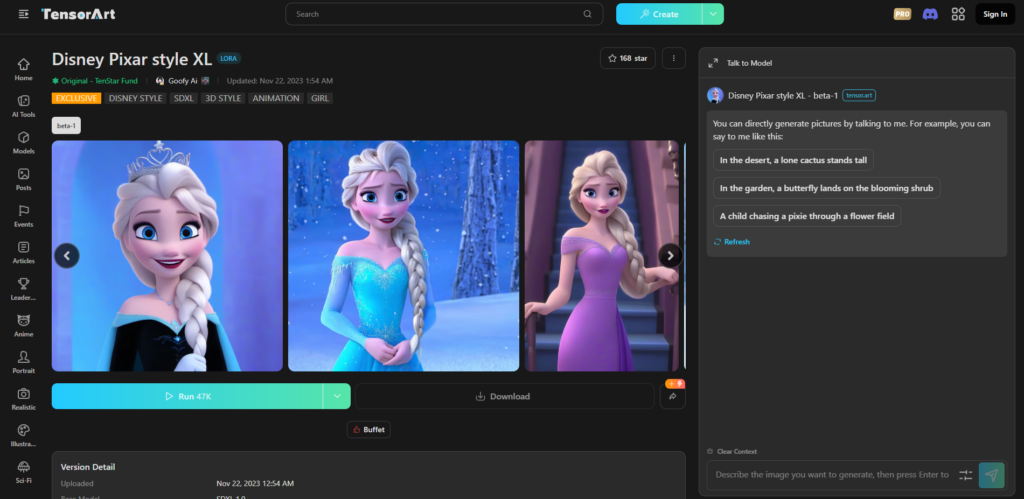
Choose a style from the available options on Tensor Art. For this tutorial, we will use the “Disney Pixar Style.” Sign in with your Google or Discord account to start generating models.

3. Creating Your First Character
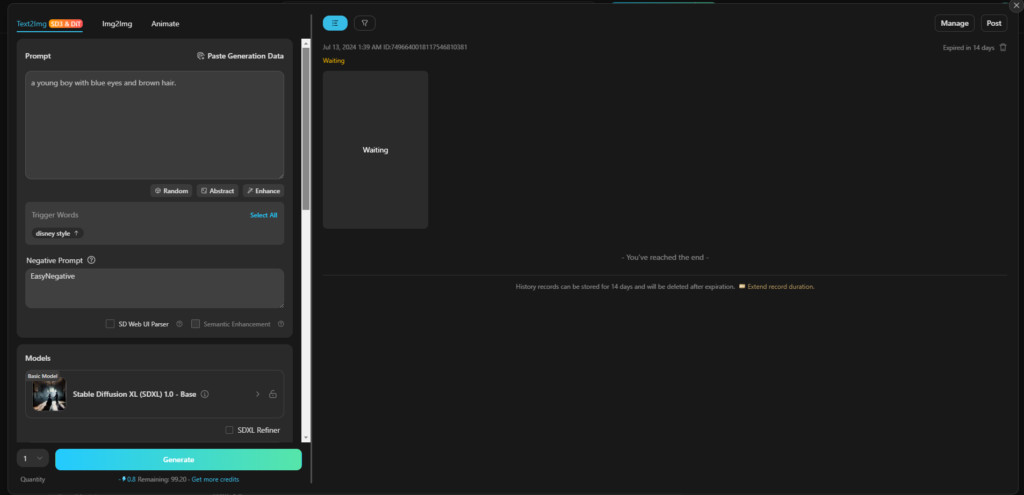
Begin with a basic prompt describing the character you want to create, such as “a young boy with blue eyes and brown hair.” Click the “Run” button to generate initial character models. You may need to tweak the prompt several times to get satisfactory results.

4. Refining the Character
Adjust your prompt slightly if the initial models are not as expected, keeping the base description consistent to create a more refined and consistent character. If needed, switch the base model to a different style to better match your vision, such as switching from a generic 3D model to a specific 3D animation style.
5. Adding Expressions and Actions
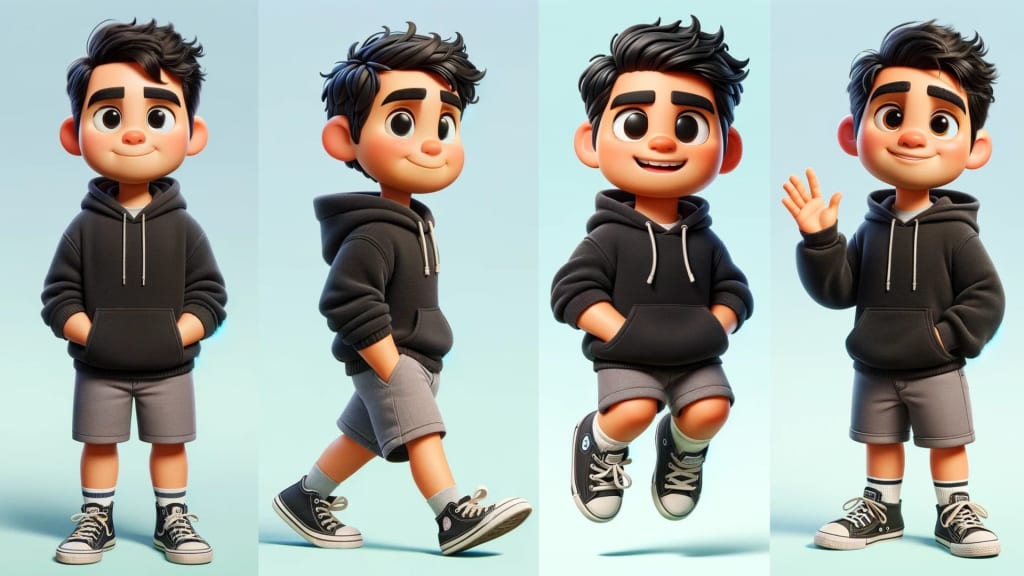
Once you have a consistent base character, add different expressions and actions to your prompt, like “the character is laughing,” “the character is running,” or “the character is sad.” Generate new models for each action and expression, ensuring the base description remains the same to maintain consistency.
6. Cleaning Up the Models
Download the character models you are satisfied with. Use Photopea, a free online tool similar to Photoshop, to clean up any extra elements in the character models. Use the magic wand tool in Photopea to select and remove the background. Once cleaned, export the character with a transparent background as a PNG file.
7. Using Your Character
Upload your character to Canva or any other design tool to use it in various projects. Ensure that the character has a transparent background by placing it on different colored backgrounds.
Conclusion
By following these steps, you can generate high-quality characters for various uses without the need for expensive tools. Keep refining your prompts and experimenting with different styles to achieve the best results.


